


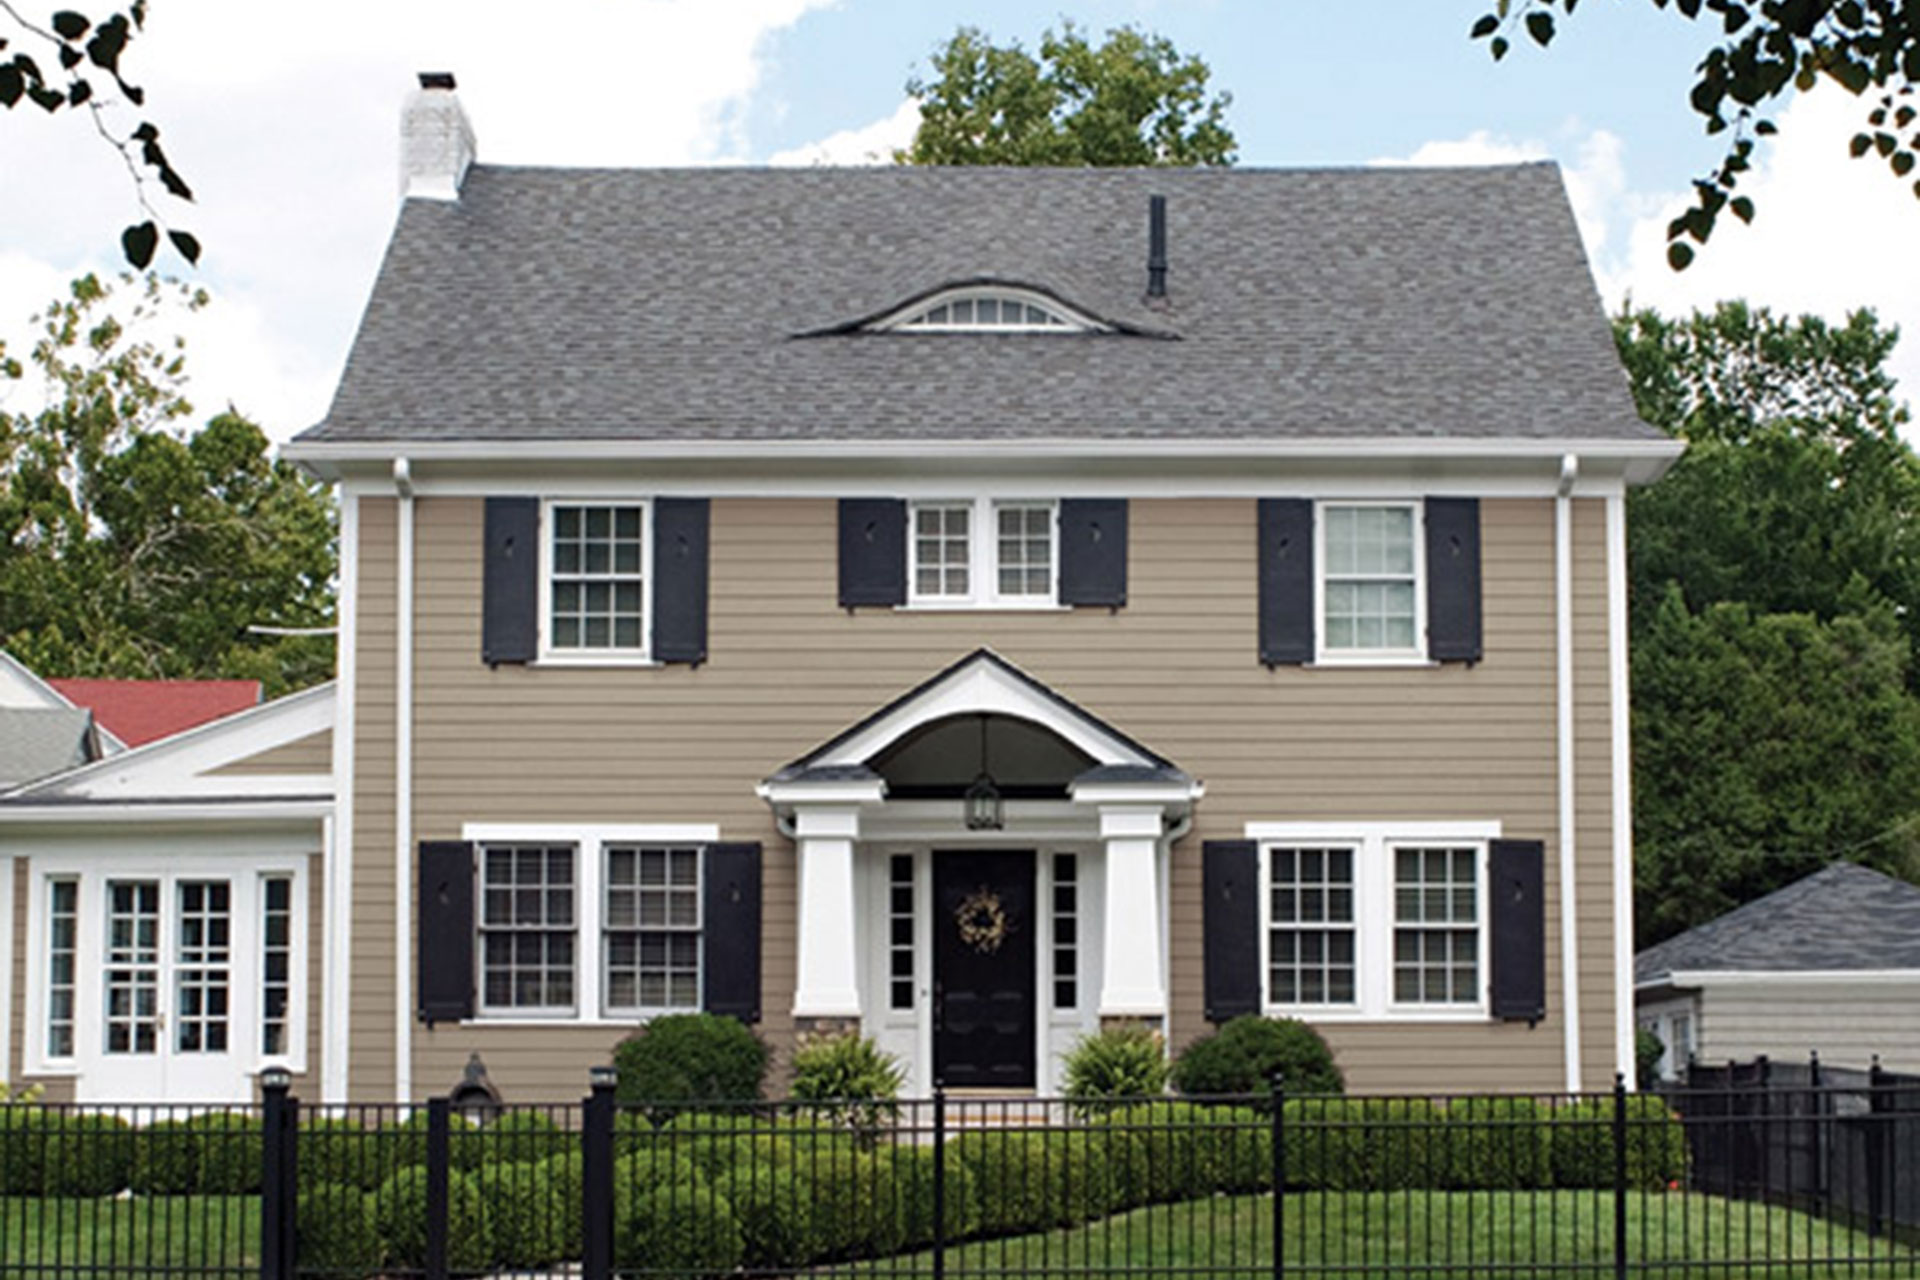
The 6 things you need to know before installing engineered wood siding
Installing engineered wood siding is a simple enough process if you follow the right guidelines and instructions. The problem is, there’s a lot of information out there that can be misleading and result to unsightly siding jobs. Engineered wood siding has changed a lot over the years thanks to technological advancements in manufacturing, and as a result – installation, handling and storage procedures have changed as well. Let’s take a look at the top 6 things you need to know when installing Naturetech Engineered Wood Siding.
1. Make sure you leave enough space between siding panels or at openings.
Leaving adequate space for natural expansion and contraction is crucial to ensuring a perfect siding job. Siding panels should be installed with 5/16” between them to ensure for this natural expansion and contraction. This is a naturally occurring phenomena that happens with all building materials. If this space is not accounted for, and siding panels are installed too close together, they will buckle when the temperature changes, causing splitting, warping, and other deformations. For this reason, leaving this space is the most important thing to remember during any installation job.
Also make sure to leave adequate space at roof ends. When installing up against the roof edge, make sure to leave 2” between the siding and the roof, and paint the exposed edge, using matching aluminum flashing between in the open space between the roof and siding to ensure a continuous, seamless look (more on this to come!).
2. How to properly install starter strip.
Applying starter strip is arguably the most important step to any siding installation job. While it may be easier to install starter strip across a horizontal piece of strapping, this will cause various issues down the road. It seems to make sense though – install a piece of horizontal strapping along the base of the furring strips, and use that as your guide to installing the starter strip, right? WRONG!
Installing a horizontal piece of strapping in this way will deprive the house of proper ventilation, trapping air and moisture between the siding and the exterior wall of the home. Having air and vapour trapped in this space will cause the siding to warp and buckle.
Good practice calls for installing the starter strip across vertical furring strips. Furring strips should be installed every 16” O.C (On Centre), and the starter strip should be levelled and installed across the furring strips. Leaving this space between strapping allows for proper air flow and ensures no moisture build-up occurs between the siding and the structure of the home.
3. Nailing engineered wood siding – best practices.
Using the wrong nails can lead to rust, and may cause siding panels to split, dislodge, or buckle. All of which make for an unpleasant finish on what would otherwise be a great-looking siding job.
Use 2” color-matched nails when working with Naturetech siding. Whatever the length, make sure they are long enough to penetrate a solid backing by at least 1-¼” – you will have to account for any sheathing or insulation behind the siding when calculating the nail length required. Make sure to keep some touch up paint on hand (more on that below), in order to cover up any nails that show through, ensuring a seamless look.
For the best results, nail every 16” O.C, and start at one end of the siding, working your way towards the other end, in order to prevent rippling.
IMPORTANT: If using a nail gun, take extra care to avoid counter sinking the nails.
4. Proper storage of engineered wood siding.
You could do the best installation job in the world, but it will all be for nothing if the siding wasn’t properly stored beforehand. Make sure engineered wood siding is covered and stored in a dry environment pre-installation. If the siding is left exposed to water make sure to store it indoors and kept dry for 48 hours before installation.
Skids of siding should be stored on dry gravel, and if opened, they should be covered by tarps and protective corners to avoid damage on-site.
Proper storage is key to starting any siding job, and full installation instructions should be followed closely to ensure you are meeting the requirements of the manufacturer.
5. Make sure you have touch up paint!
Naturetech siding is manufactured with four coats of factory-finished paint that will look great for years. However, there are still circumstances that may arise during the handling and installation of the product, no matter how careful you are, that require the use of some touch up paint. The last thing you want is to be on the job site, have a perfectly good piece of siding or trim board with one little knick or scratch, and no touch up paint! Touch up is available in all siding colors and should be purchased with every order of siding. Make sure you keep it somewhere you’ll remember, you never know when it will come in handy!
6. Using matching wood and aluminum trims & accessories.
Color is everything when it comes to siding. That’s why we’ve worked really hard to make sure that our siding colors are available in matching wood and aluminum trims and accessories. Naturetech Trim Board is available in all the same colors as Naturetech siding, so you can mix and match accessories to your heart’s desire. Add to the mix our perfectly matched aluminum colors and you’ll have the best looking house on the block!
There are many other important tips and guidelines to keep in mind when installing Naturetech siding. Before you start, make sure to read the full installation instructions for complete details.
What advice do you have for installing engineered wood siding? Sound off in the comments below!